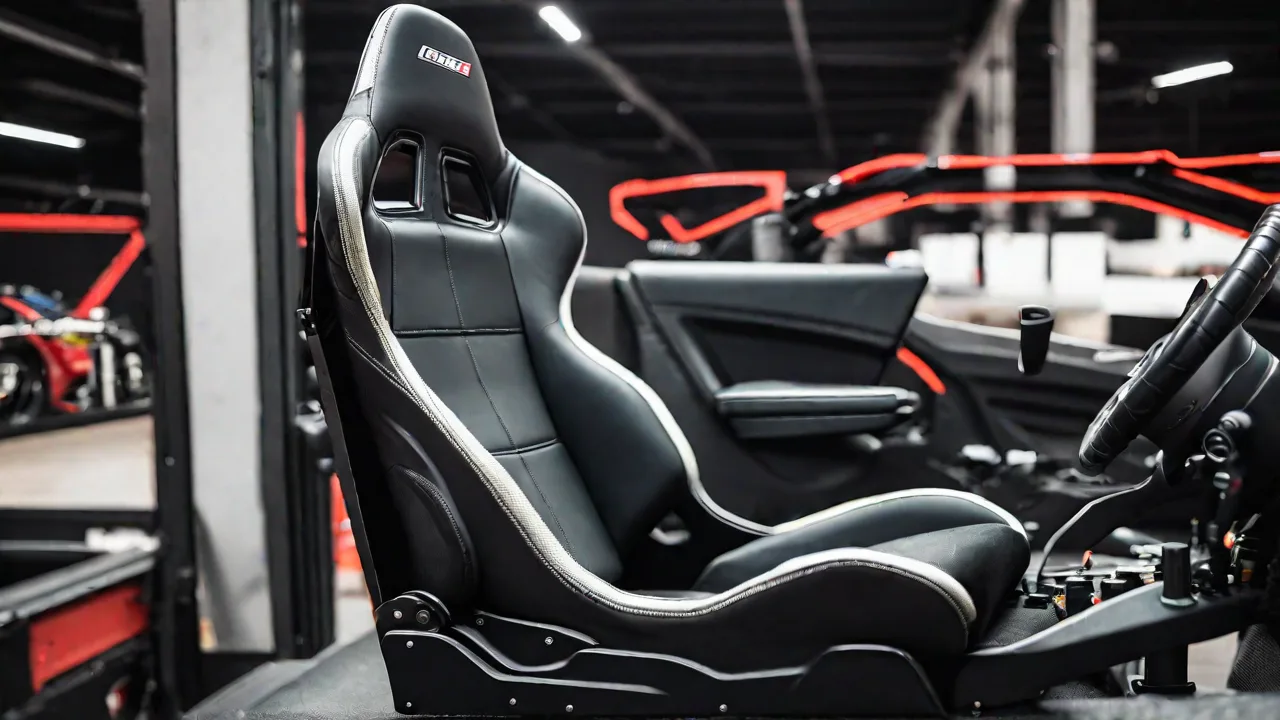
How to Integrate a Bucket Seat Into a Professional-Grade Racing Simulator Setup
Creating a realistic and immersive racing experience often involves integrating a high-quality bucket seat into your simulator setup. This guide will walk you through the essential steps to seamlessly incorporate a professional-grade bucket seat, enhancing comfort, stability, and realism.
Choosing the Right Bucket Seat
Select a bucket seat that offers ergonomic support, durability, and compatibility with your simulator frame. Look for seats made from sturdy materials like fiberglass or reinforced plastic, with adjustable features to fit different body sizes.
Preparing Your Workspace
Ensure your racing simulator frame can accommodate the seat. Measure the mounting points and confirm compatibility. Clear the area for easy access during installation, and gather all necessary tools such as wrenches, screwdrivers, and mounting brackets.
Gathering Materials and Tools
- Bucket seat with mounting brackets
- Adjustable mounting rails (if applicable)
- Wrenches and screwdrivers
- Bolts, nuts, and washers
- Measuring tape
- Level
Installing the Bucket Seat
Follow these steps to install your seat securely:
- Position the seat on the mounting points of your frame.
- Attach the mounting brackets to the seat using the provided bolts.
- Align the seat so it is level and centered.
- Secure the seat to the frame with bolts, tightening them evenly.
- Check stability by gently rocking the seat.
Adjusting for Comfort and Performance
Once installed, adjust the seat position for optimal comfort and control:
- Slide the seat forward or backward to reach the pedals comfortably.
- Adjust the height to ensure clear visibility of the screen and easy access to controls.
- Set the recline angle to support your back during long sessions.
- Test the setup by sitting in the seat and simulating driving motions.
Enhancing Your Setup
For an even more realistic experience, consider adding:
- Additional support cushions for comfort
- Racing harnesses for safety
- High-quality steering wheels and pedals
- Surround sound speakers or headphones
Integrating a bucket seat into your racing simulator setup can significantly improve immersion and comfort. With proper selection, installation, and adjustment, you'll be ready to enjoy professional-grade racing from the comfort of your home or workspace.